


How to sign the deed
It takes a couple of minutes. You need your MitID.
Open tinglysning.dkOpens in a new tab, so you can return to this guide.
Step 1: Open tinglysning.dk and switch to English
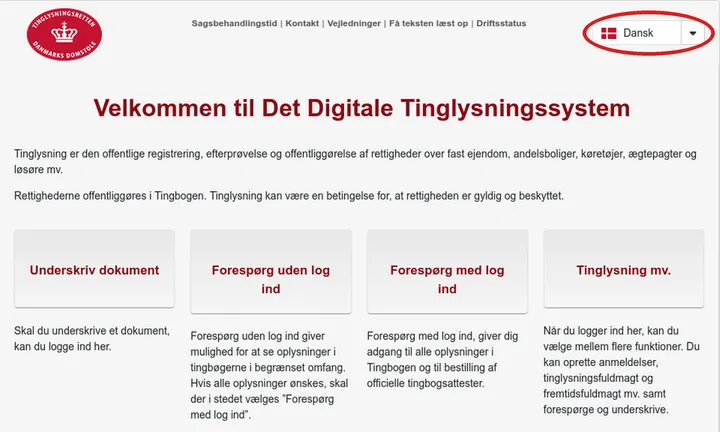
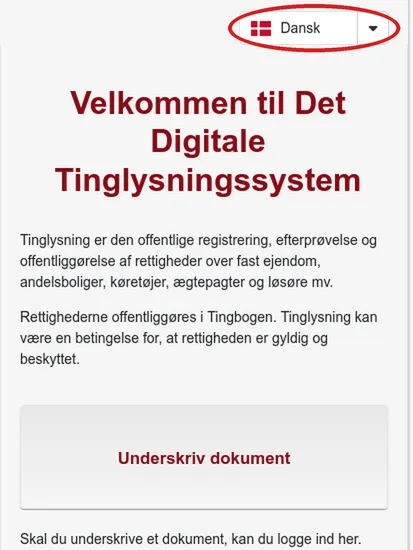
The page opens in Danish. Choose “English” in the language menu at the top.
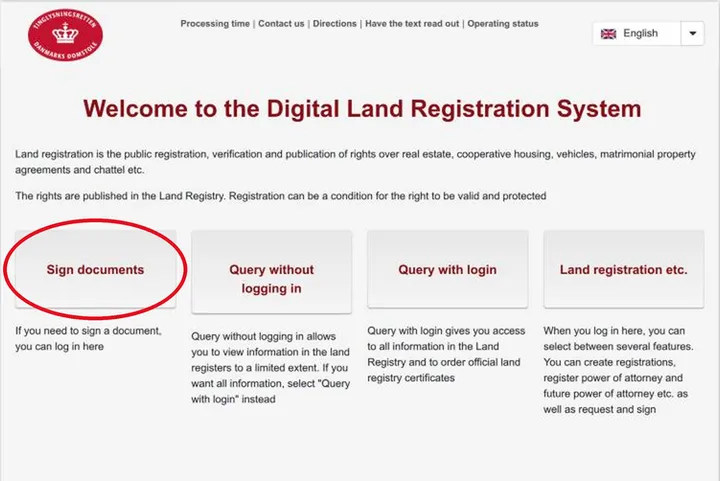
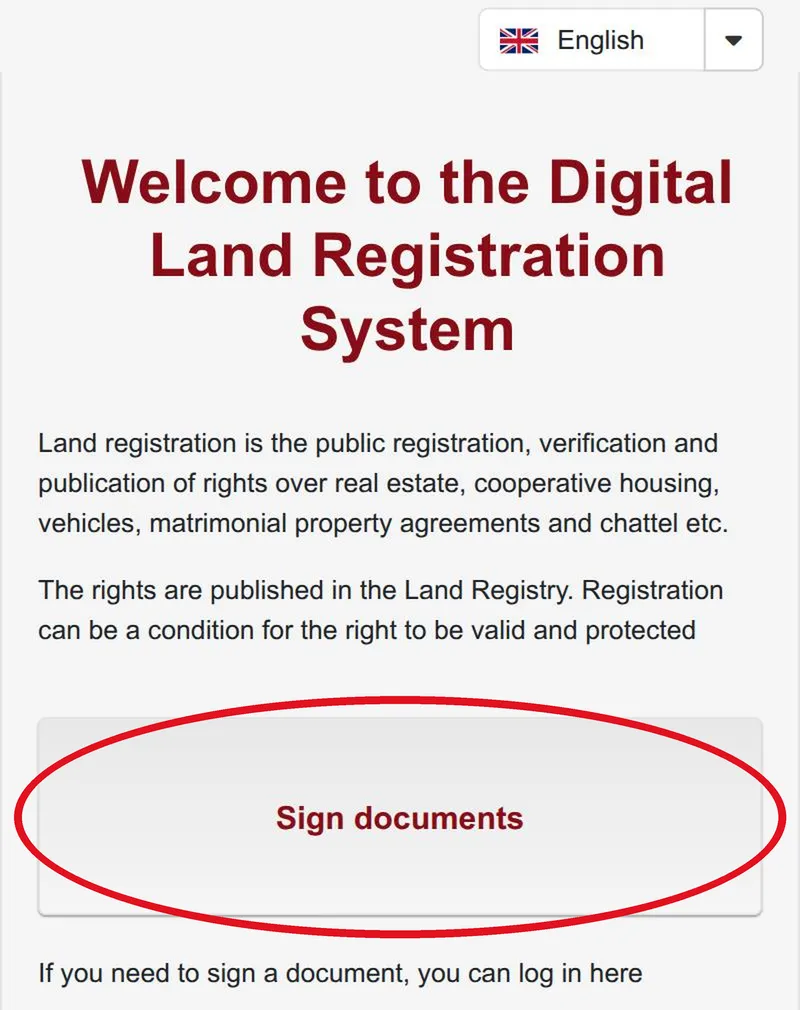
Step 2: Press “Sign documents”
It is the first button on the front page.
Step 3: Log in with MitID
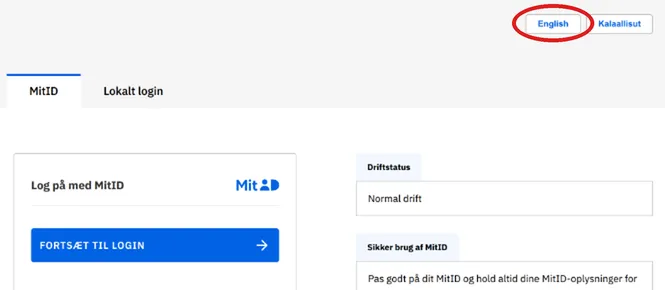
The login page may open in Danish: press “English” at the top right. Then press “Continue to login”, enter your user ID and approve in the MitID app.
Step 4: Find the deed and press the pencil
You are now in “The signature folder”, and the deed is in the list. Press the small pencil in the column “Sign”. To read the deed first, press the line itself.


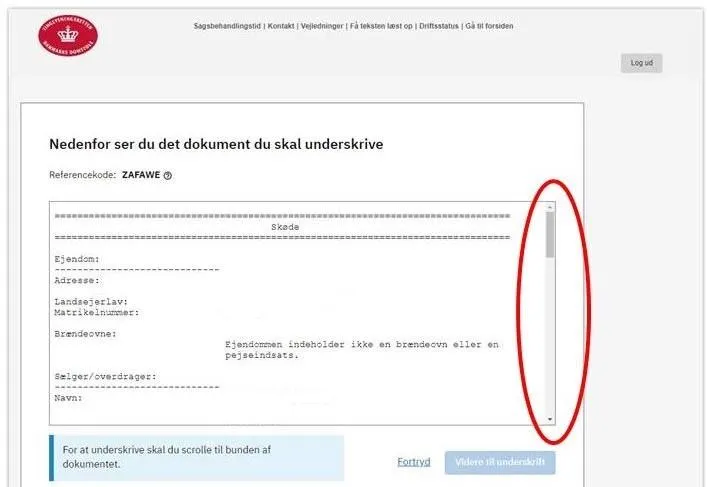
Step 5: Scroll all the way to the bottom of the deed
The deed is shown on the screen. The button that continues to signing only works once you have scrolled all the way down.
Step 6: Continue to signing and approve with MitID
Press the blue button (“Videre til underskrift” in Danish). Enter your user ID again, continue, and approve in the MitID app. On a computer, scan the QR code on the screen with the app.

Step 7: Accept the terms
Tick the box to accept the terms for signing (“Jeg accepterer vilkårene for underskrift” in Danish).

Step 8: Done
When you see the button that takes you back to the signing folder (“Tilbage til underskriftsmappen” in Danish), the deed is signed.
